Dry Wall Removal How-To Guide — Pure Maintenance Beaverton
Assess the Damage
Gather Necessary Tools and Materials
Turn Off Utilities
Remove Baseboards and Trim
Cut the Dry Wall
Remove the Dry Wall Sections
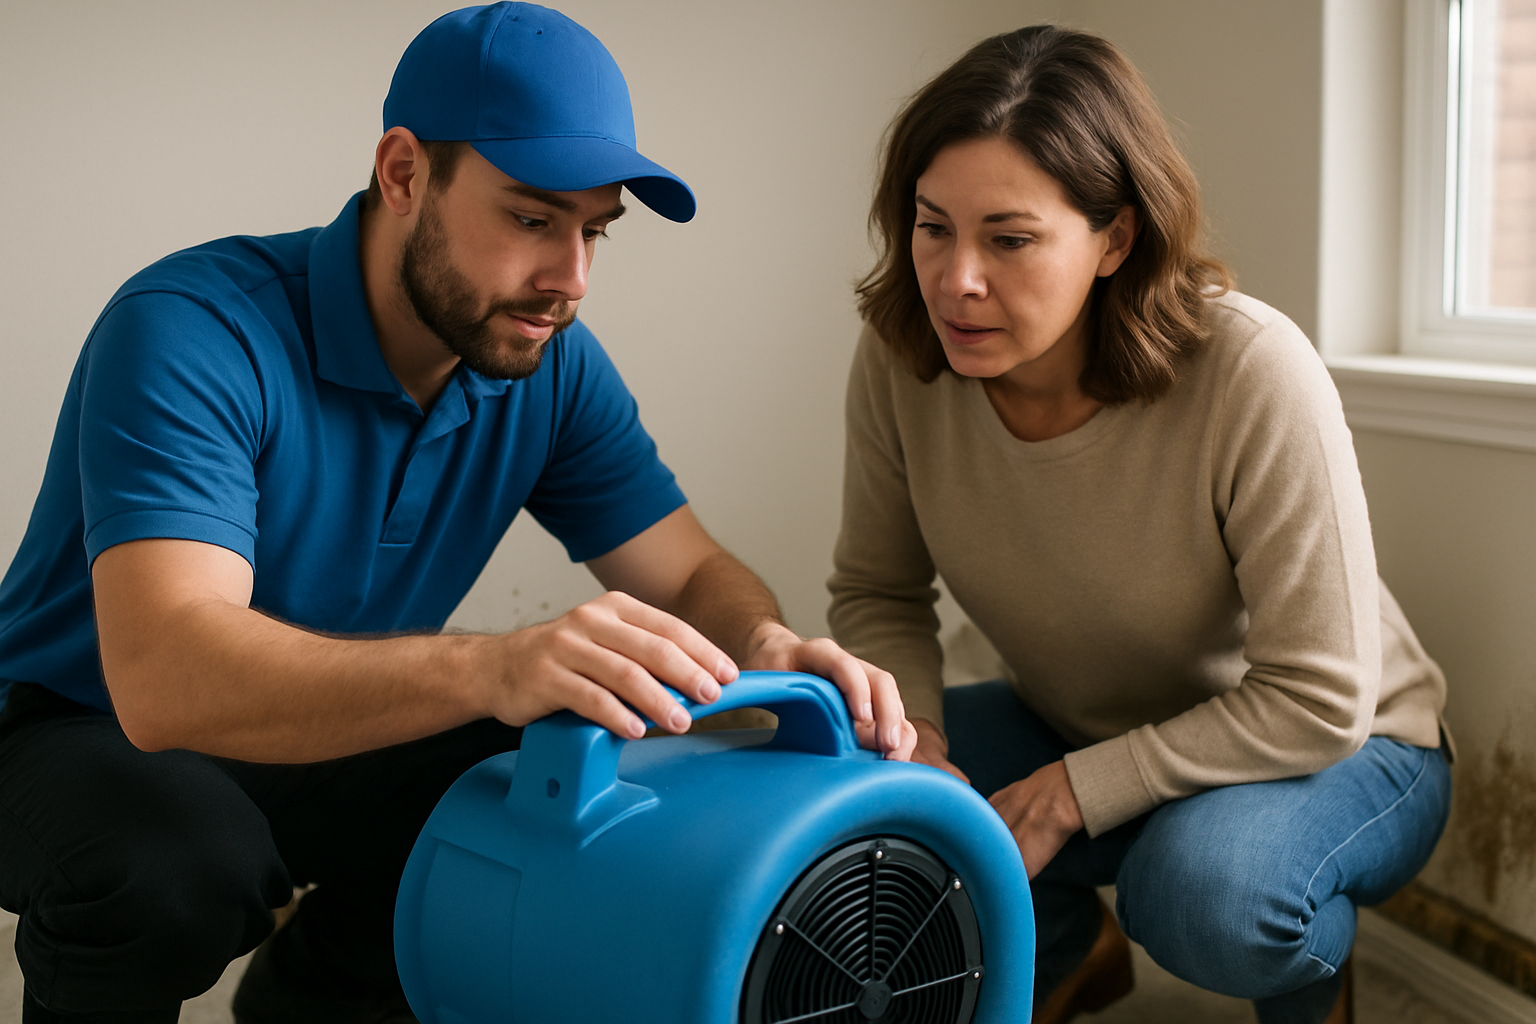
How It Works
Dry wall removal is a critical step in the process of restoring your home after water damage. At Pure Maintenance Beaverton, we understand that when water infiltrates your walls, it can lead to mold growth, structural damage, and a host of other issues. This guide will walk you through the necessary steps for safely and effectively removing drywall in your Beaverton home, ensuring that you can address the underlying problems and prevent future damage. Whether you're dealing with a small leak or extensive water damage, knowing how to remove dry wall properly is essential for maintaining a safe and healthy home environment. In this comprehensive how-to guide, we’ll cover everything from preparation to the actual removal process. We’ll also provide tips to help you minimize disruption and ensure a smooth experience. Taking the right steps before, during, and after the dry wall removal can make a significant difference in your home restoration project. With our expert guidance at Pure Maintenance Beaverton, you’ll be equipped with the knowledge you need to tackle this essential task with confidence.
Assess the Damage
Before you start removing any dry wall, it's vital to assess the extent of the water damage. Check for signs of mold, mildew, or structural issues. This assessment will help you determine how much dry wall needs to be removed and if you need to call in professionals for further evaluation. Make sure to document the damage for insurance purposes.
Gather Necessary Tools and Materials
Ensure you have all the necessary tools and materials on hand before beginning the removal process. Essential items include a utility knife, pry bar, drywall saw, safety goggles, gloves, and a dust mask. Having everything ready will streamline the process and enhance safety as you work.
Turn Off Utilities
Before you start removing dry wall, turn off any electricity, water, or gas lines in the affected area to ensure your safety. This step is crucial, especially if water has entered electrical systems or if you’re working near plumbing. Always prioritize safety when dealing with water-damaged areas.
Remove Baseboards and Trim
Carefully remove any baseboards or trim that may be covering the edges of the dry wall. Use a pry bar to avoid damaging the surrounding areas. This step is essential for achieving a clean removal and will provide better access to the dry wall needing removal.
Cut the Dry Wall
Using your utility knife, score the dry wall along the lines you've determined from your assessment. Make sure to cut out all affected areas, generally at least 12 inches above the water line, to avoid future mold growth. Use a drywall saw for more intricate cuts. Be cautious of any hidden electrical wires or plumbing.
Remove the Dry Wall Sections
Once cut, carefully pull the dry wall sections away from the studs. If necessary, use a pry bar to assist in the removal. Dispose of the damaged dry wall properly according to local regulations, especially if it is contaminated with mold or other harmful materials.
Inspect for Additional Damage
After the dry wall is removed, inspect the framing and insulation behind it for any signs of damage. Look for mold or rot that may need addressing before you can proceed with repairs. This step is crucial to ensure the integrity of your home post-removal.
Clean Up the Area
Finally, thoroughly clean the area where the dry wall was removed. Use a vacuum to clear away dust and debris, and consider using a mold-remediation solution on any affected surfaces. Proper cleanup will help prevent any further issues and prepare the space for new installations.
What to Expect & When
We believe in full transparency. Here's a realistic timeline so you can plan accordingly.
Assessment & Preparation
1-2 DaysBegin with assessing the damage and gathering necessary tools. This phase allows you to prepare adequately for the removal process.
Dry Wall Removal
2-4 HoursThis phase includes removing the dry wall sections, inspecting for additional damage, and ensuring safe disposal of materials.
Cleanup
1 DayThoroughly clean the area, removing all debris and preparing the space for repairs or new installations.
Repair and Restoration
1-2 WeeksAfter dry wall removal, proceed with repairs and restoration, including replacing insulation and installing new dry wall.
How to Prepare
- Ensure the area is well-ventilated to reduce dust buildup during removal.
- Wear appropriate personal protective equipment, including gloves and masks.
- Have a designated area for debris disposal to keep the workspace organized.
- Check local regulations regarding disposal of water-damaged materials.
- Consider contacting a professional if the damage is extensive or involves complex structures.
Common Questions
Everything you need to know before we arrive.
How do I know if I need to remove my dry wall?
Can I remove dry wall myself?
What should I do after removing the dry wall?
How long does the dry wall removal process take?
What are the risks of not removing damaged dry wall?
Still have questions? We're happy to help.
Call (503) 836-8833Understanding the Importance of Dry Wall Removal
Dry wall removal is a critical aspect of water damage restoration. It’s not merely about getting rid of the old material; it’s about safeguarding your home’s structural integrity and ensuring a healthy living environment. Water can seep into dry wall quickly, leading to mold and other hazards that can affect the health of your family. In Beaverton, where humidity levels can fluctuate, being proactive about dry wall removal is essential. By removing the damaged sections promptly, you can prevent further deterioration and create a fresh slate for repairs. Additionally, if the dry wall was in contact with contaminated water, it poses a health risk and should be removed immediately. At Pure Maintenance Beaverton, we emphasize the significance of a thorough assessment prior to removal. This step ensures that you are not only addressing the visible issues but also any underlying problems that can lead to future complications. Understanding the importance of this process can save you time, money, and stress in the long run.
Post-Removal: What Comes Next?
Once the dry wall has been removed, you might be wondering what to do next. The first step in the restoration process is to inspect the studs and insulation behind the removed dry wall. Look for any signs of mold or wood rot, and ensure that everything is dry before proceeding. If you discover mold, it’s crucial to handle it properly, potentially with the help of professionals who specialize in mold remediation. After ensuring the area is safe and dry, you can begin planning for new installations. This might involve replacing insulation or repairing any damaged framing. Pure Maintenance Beaverton can assist you throughout this process, ensuring that your home meets safety codes and is restored to its former state. We recommend considering options for moisture-resistant dry wall, particularly in areas prone to water exposure. Planning ahead will set the stage for a successful restoration and help prevent future issues.
Ready to Get Started with Pure Maintenance Beaverton?
Our licensed technicians serve Beaverton and surrounding communities. Free estimates — no obligation.