Crawl Space Vapor Barrier How-To Guide — Pure Maintenance Beaverton
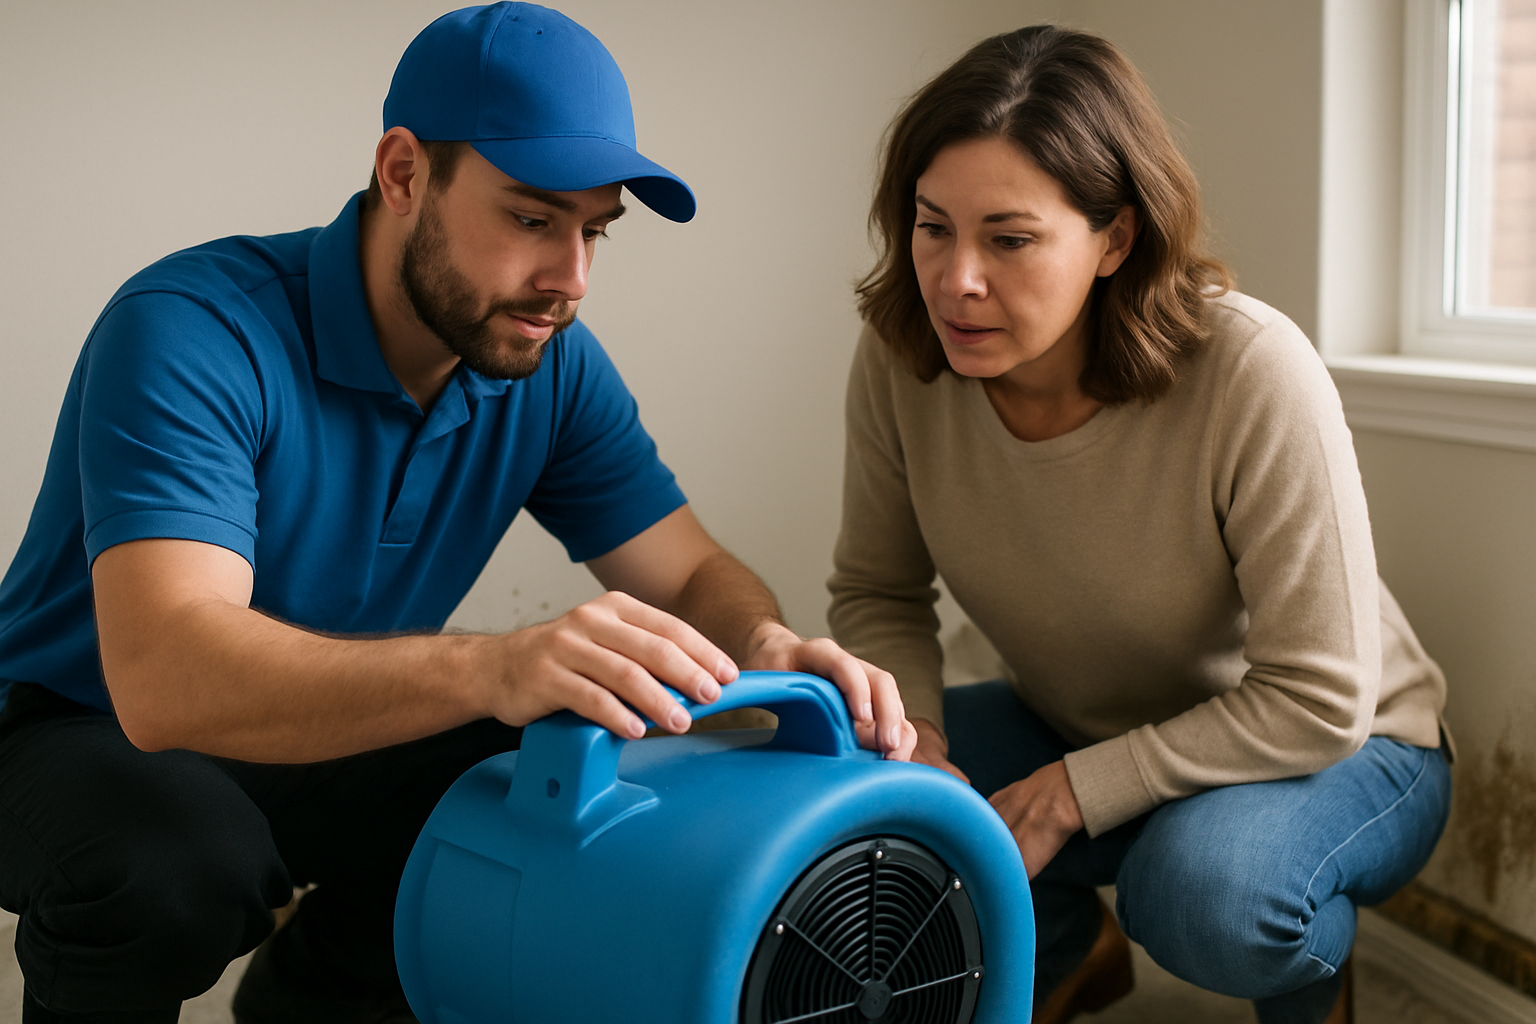
Site Assessment
Gather Materials
Measure and Cut
Install the Vapor Barrier
Seal Edges and Seams
Final Inspection
How It Works
In Beaverton, Oregon, the importance of a crawl space vapor barrier cannot be overstated. This essential home improvement project safeguards your property from moisture damage, mold growth, and structural issues. A properly installed vapor barrier can create a healthier living environment by preventing excess humidity from infiltrating your home’s foundation. At Pure Maintenance Beaverton, we understand that many homeowners may feel daunted by the prospect of installing a crawl space vapor barrier. This comprehensive how-to guide will provide you with the knowledge and confidence needed to tackle this critical task effectively. With our expert tips and step-by-step instructions, you’ll be well on your way to protecting your Beaverton property from the perils of moisture. A crawl space vapor barrier not only enhances your home’s energy efficiency but also significantly improves indoor air quality. In the damp climate of Beaverton, where moisture can lead to mold and unpleasant odors, having a vapor barrier is essential. This guide will walk you through the installation process, including the necessary materials, preparation steps, and best practices for ensuring a successful installation. Let’s dive in and ensure your crawl space is a safe and dry area, free from the risks of moisture damage.
Site Assessment
Begin by assessing your crawl space for existing moisture issues and debris. Check for any signs of leaks, mold, or standing water. This step is crucial as it helps you understand the extent of the moisture problem and whether additional remediation is needed before installing the vapor barrier. Clear away any debris to create a clean working environment.
Gather Materials
Collect all necessary materials for the installation, including vapor barrier sheets, duct tape, scissors, and a utility knife. Ensure you choose a high-quality polyethylene vapor barrier with a thickness of at least 6 mils for optimal protection. If your crawl space is particularly large, you might need multiple sheets, so plan accordingly.
Measure and Cut
Measure the dimensions of your crawl space to determine how much material you will need. Cut the vapor barrier sheets to size, allowing for a bit of overlap where sheets meet. This ensures complete coverage and prevents moisture from seeping through seams. Remember to wear gloves and a mask to avoid exposure to dust and mold.
Install the Vapor Barrier
Begin laying the vapor barrier in your crawl space. Start at one corner and work your way across, overlapping edges by at least 12 inches. Use duct tape to secure the seams and edges to the ground and walls. Make sure the barrier lies flat without any wrinkles or gaps to maximize its effectiveness in preventing moisture intrusion.
Seal Edges and Seams
After laying out the vapor barrier, carefully seal all edges and seams with duct tape. This step is crucial in creating a continuous barrier against moisture. Pay special attention to corners and any penetrations in the barrier, such as plumbing or electrical conduits, ensuring they are properly sealed to prevent moisture from entering.
Final Inspection
Once the installation is complete, conduct a final inspection of the vapor barrier. Check for any loose areas, gaps, or signs of moisture penetration. It’s important to address any issues immediately to ensure that your crawl space remains dry. Document your work with photos for future reference and maintenance.
What to Expect & When
We believe in full transparency. Here's a realistic timeline so you can plan accordingly.
Preparation
1-2 daysPrepare your crawl space by assessing moisture levels and clearing out debris. Gather all necessary materials to ensure a smooth installation process.
Installation
1-2 daysInstall the vapor barrier following the step-by-step guide, ensuring all seams are properly taped and edges sealed to prevent moisture intrusion.
Final Check
1 dayPerform a comprehensive final inspection of the installed vapor barrier to ensure everything is secure and functioning as intended.
Ongoing Maintenance
OngoingRegularly inspect your crawl space and vapor barrier, especially during the rainy months in Beaverton, to ensure continued effectiveness in moisture prevention.
How to Prepare
- Ensure your crawl space is accessible and well-ventilated before starting the installation.
- Check for any existing moisture damage or mold in the crawl space that may need to be addressed prior to installation.
- Consider consulting with a professional if you're unsure about any aspect of the installation process.
- Wear protective gear such as gloves and a mask to safeguard against dust and mold during the installation.
- Have a plan for disposing of any debris and old materials that may be present in the crawl space.
Common Questions
Everything you need to know before we arrive.
What is a crawl space vapor barrier?
How do I know if I need a vapor barrier in my crawl space?
How thick should a crawl space vapor barrier be?
Can I install a vapor barrier myself?
How long does it take to install a crawl space vapor barrier?
Still have questions? We're happy to help.
Call (503) 836-8833Understanding the Importance of a Vapor Barrier
In the moist climate of Beaverton, Oregon, having a crawl space vapor barrier is essential for maintaining the integrity of your home. Moisture can lead to a myriad of problems, including mold growth, wood rot, and damage to your home's foundation. By installing a vapor barrier, you create a protective layer that minimizes the entry of moisture from the ground into your crawl space. This not only protects your structural components but also contributes to better air quality in your home. When humidity levels rise, especially during the rainy months in Beaverton, the risk of moisture-related issues increases, making a vapor barrier a wise investment for homeowners. Additionally, crawl space vapor barriers can enhance your home’s energy efficiency. By preventing moisture accumulation, they help maintain a stable indoor temperature, reducing the strain on your heating and cooling systems. As a result, homeowners can experience lower energy bills and improved comfort. Moreover, many insurance companies recognize the benefits of a vapor barrier, and having one installed may even lead to lower premiums. Understanding these benefits can help Beaverton homeowners make informed decisions about their crawl space maintenance.
Common Mistakes to Avoid When Installing a Vapor Barrier
Installing a crawl space vapor barrier may seem straightforward, but there are several common mistakes that homeowners often make. One of the most significant errors is not properly preparing the crawl space before installation. Failing to remove debris, old insulation, or any signs of moisture can undermine the effectiveness of the vapor barrier. It’s crucial to address any existing moisture issues before laying down the barrier to ensure you’re not trapping dampness beneath it. Another mistake is not overlapping the seams adequately. Overlapping is essential to prevent moisture from seeping through gaps. Homeowners should aim for at least a 12-inch overlap and secure seams with high-quality duct tape. Additionally, neglecting to seal the edges of the barrier can lead to moisture intrusion. Finally, some may underestimate the importance of using the right thickness of polyethylene. A barrier that is too thin will not provide adequate protection. By avoiding these common pitfalls, homeowners in Beaverton can ensure their vapor barrier performs effectively for years to come.
Ready to Get Started with Pure Maintenance Beaverton?
Our licensed technicians serve Beaverton and surrounding communities. Free estimates — no obligation.